The cable you use for tethering matters more than most people think, and the honest truth is that no single cable brand works perfectly with every camera every time.
I keep a mix of brands on hand at all times, and that’s not because I can’t pick a favorite — it’s because everything breaks eventually, and camera-cable compatibility is more unpredictable than anyone wants to admit.
Why You Need Multiple Brands
Camera manufacturers and cable manufacturers are constantly iterating. Some cable brands turned off PD (power delivery) in the chip to improve tethering stability. Others didn’t. Then cameras changed their USB implementation in the next firmware update, and suddenly the cable that worked perfectly last month is dropping connections.
This isn’t a one-time problem you solve by finding “the right cable.” It’s an ongoing reality. Iterations of cameras and cables have all been found to have mixed support, and keeping up with exactly which cable works best with which body is a full-time job nobody signed up for.
My solution: carry 2-3 different brands at all times. If one isn’t working with a particular body, swap it. You’ll figure out the problem later — on set, you just need to be tethered.
Brands Worth Trying
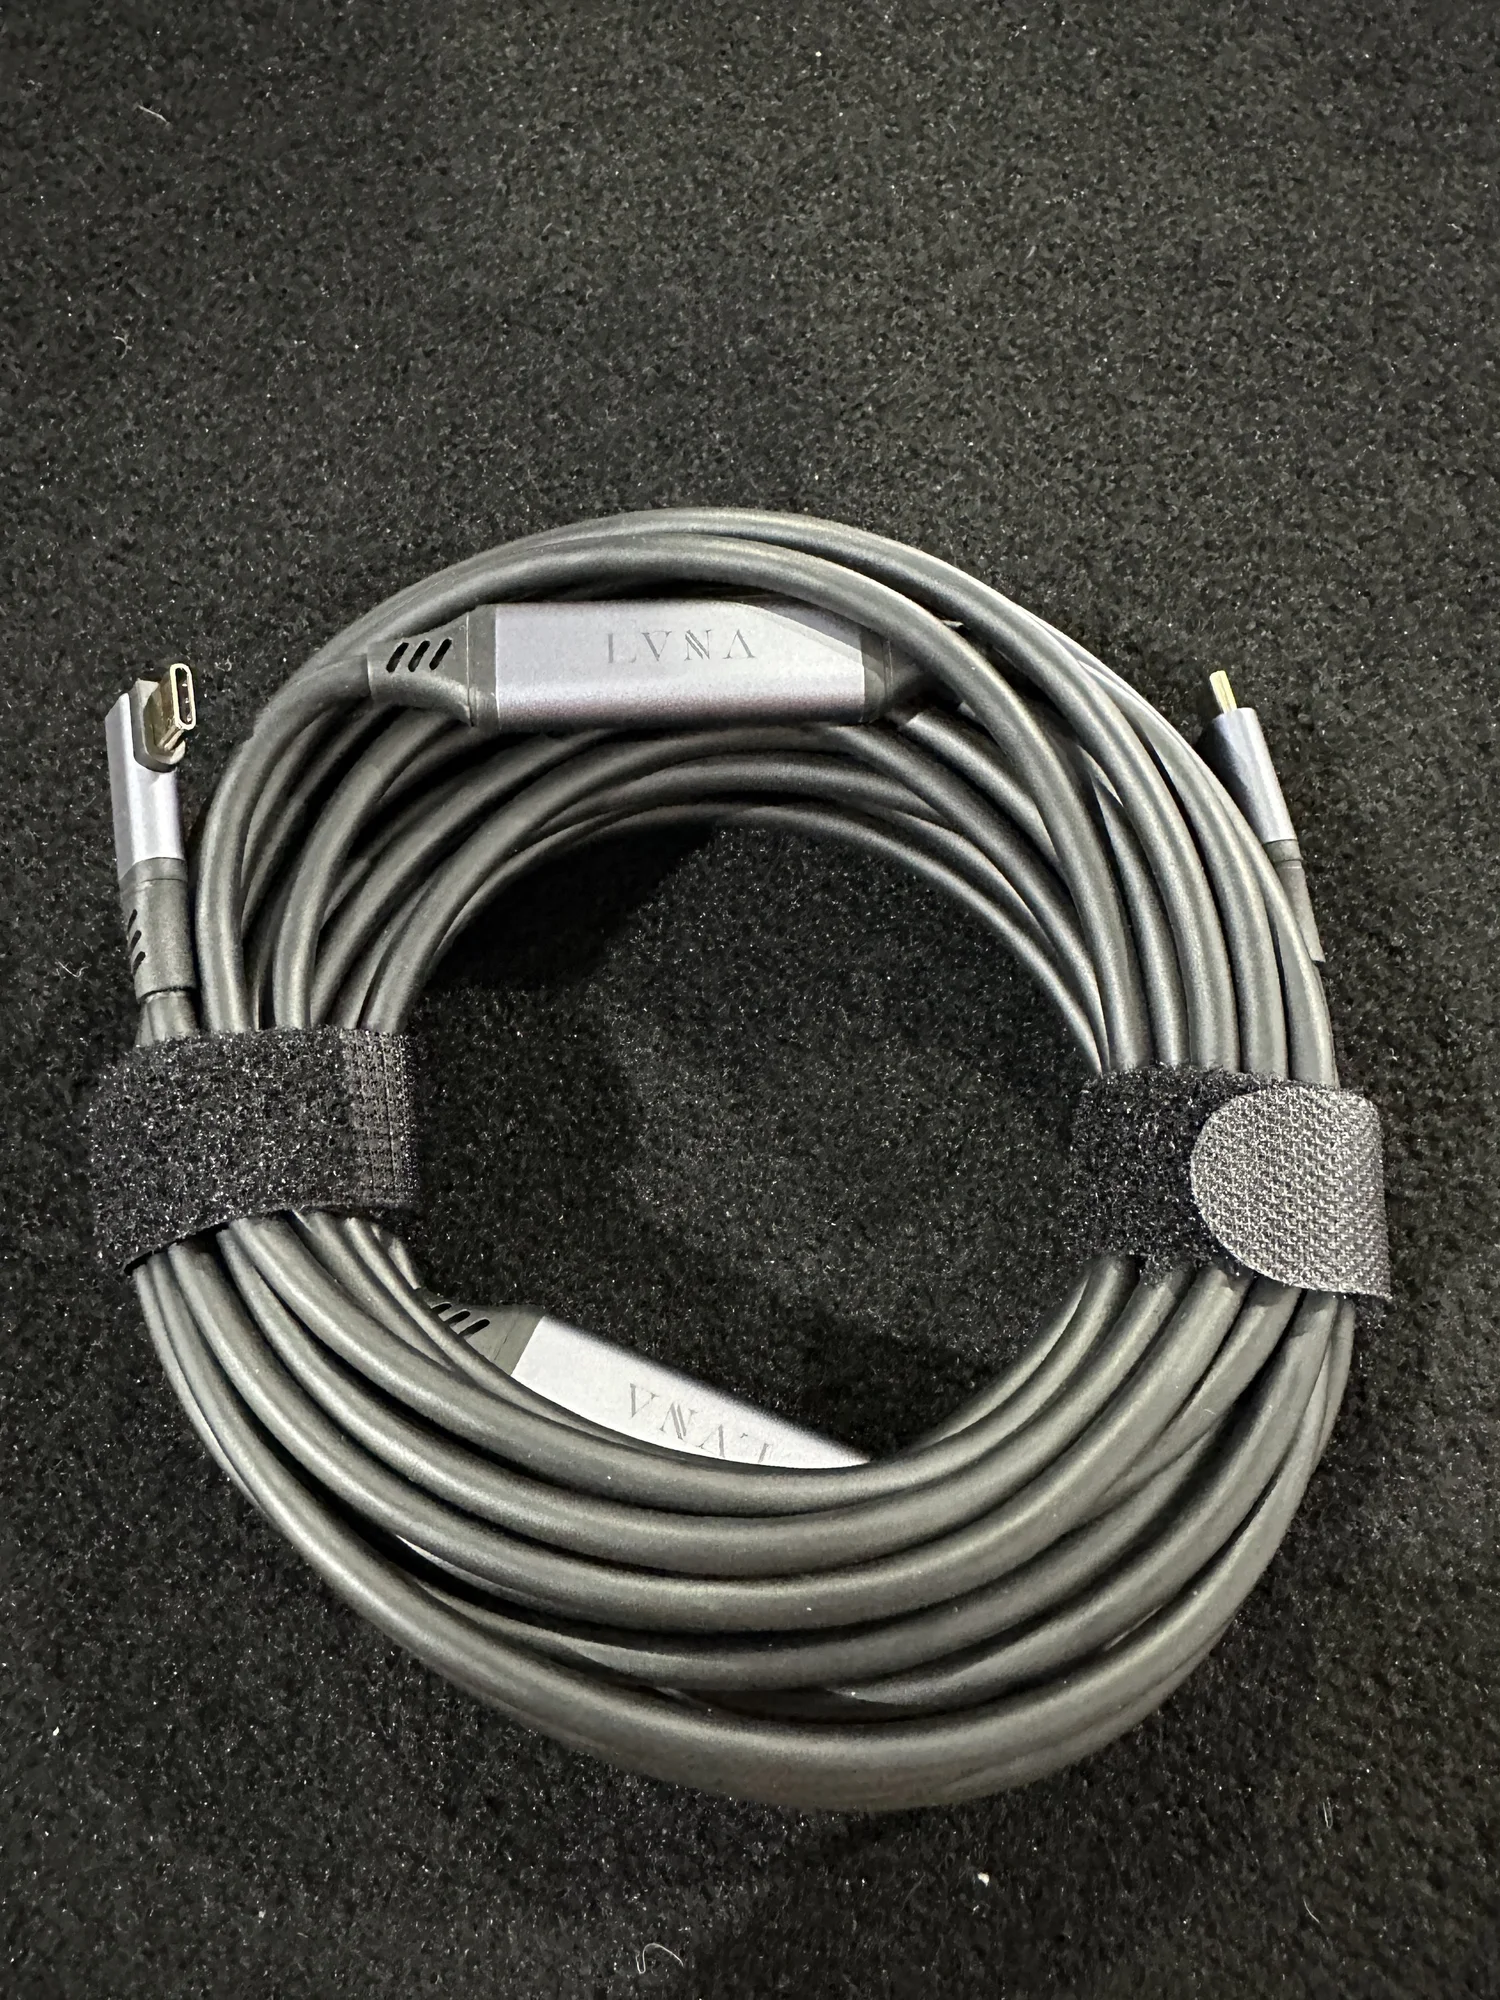
Tether Tools is the market leader and what most people start with, but these alternatives are all worth having in your kit. Each has slightly different build quality, chip behavior, and connector design.
Carry Every Connector Angle
For each major port type, I keep three cable configurations:
- Straight to straight — the default.
- Straight to right angle — essential when the camera is in a cage or the port is in a tight spot.
- Extension with pigtails — for longer runs or when you need strain relief at the camera end.
This gives you maximum flexibility for whatever shows up on set. Photographers bring cameras in cages, rental bodies have worn ports, and sometimes a cable that works fine on a table intermittently drops when the camera is mounted overhead. Having options means you’re solving problems in seconds instead of minutes.
Tips That Actually Help
- Carry backups of your backups. Tether cables are consumables. They wear out, get stepped on, and develop intermittent connections. Treat them like gaff tape — always have more than you think you need.
- Disable USB charging in the camera menu. This prioritizes data over power delivery and can fix a lot of flaky connections.
- Try USB-A if USB-C is dropping. It’s slower, but the connection can be more stable on some bodies. Keep a USB-A to Micro B or USB-A to C cable in your kit as a fallback.
- Use a powered hub. External power prevents bandwidth conflicts when you’re running multiple devices off the same bus.
- Consider optical cables for distance. Fiber-optic USB cables eliminate interference and can run much longer distances without signal degradation. Worth it for large studio setups.
The Reality
Tether cables aren’t a “buy once, figure it out” problem. They’re a consumable part of your kit that requires ongoing management. Budget for replacements, carry multiple brands, and never go to a shoot with only one cable. The best cable is the one that works with the camera in front of you today — and you won’t always know which one that is until you plug it in.